

Your profile photo gets about three seconds of a recruiter’s attention before they scroll down to your headline. Three seconds. And most job seekers are spending those three seconds on a cropped wedding photo, a Zoom screenshot, or a selfie with someone else’s shoulder still in frame.
Here’s the part almost nobody tells you about getting an APOB AI LinkedIn headshot: the photos aren’t the product. The portrait model です。
You train your face once, and from that point on you’re not generating headshots one at a time — you’re pulling outfits, backgrounds, crops, and expressions out of a face you already locked in. Navy suit for the banking application. Open collar for the startup. Clean scrubs for the clinical role. Same person, same bone structure, same eyes.
One selfie in. Fifty usable profile photos out. No studio, no $400 sitting fee, no photographer telling you to relax your jaw.
Below is the exact workflow, the credit math nobody spells out upfront, the free-tier catch you need to know before you get attached to an image, and the seven details that make hiring managers smell AI 瞬時に。
TL;DR — The Short Version
| 質問 | 率直な答え |
|---|---|
| あなたが構築しているもの | A reusable portrait model of your own face, not a one-off photo pack |
| あなたがアップロードしたもの | One clear, front-facing photo (JPEG, PNG, or WEBP) |
| Where the headshots live | Complete Set → LinkedIn Headshots (11 ready-made professional templates) |
| 出入り自由 | 80 credits refreshed daily, no card required |
| Cheapest usable mode | Fast — roughly 10 credits for 4 images (~2.5 credits per photo) |
| Final export mode | Ultra 4K — around 46 credits for one high-resolution image |
| Free-tier catch | Outputs carry a watermark, and you get one trained model slot |
| Time to 50 photos | Two to three days on free credits, or one sitting on a paid plan |
| 必要なスキル | None. If you can crop a photo, you’re already qualified |
| 最適 | Job seekers, career switchers, フリーランサー, consultants, sales reps, founders |
Why a Portrait Model Beats a 40-Photo Headshot Pack
ブリッジ AI headshot services hand you a zip file and disappear. You pay, you wait an hour, you get 40 images, and 36 of them are unusable. Then you change your hair in March and the whole thing is dead money.
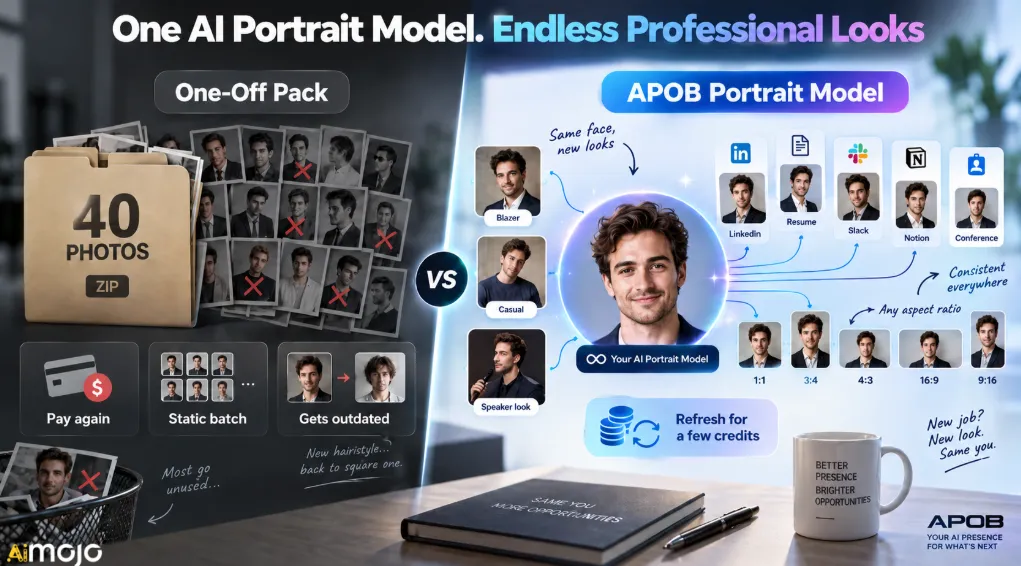
APOB works the other way around. The trained model is the asset. The images are just what you withdraw from it.
| 特長 | One-Off Headshot Pack | APOB Portrait Model |
|---|---|---|
| あなたが実際に所有しているもの | A folder of finished JPEGs | A face-locked model you can generate from forever |
| Outfit changes later | Pay again | Type the change into Chat to Edit |
| プラットフォーム間の一貫性 | Photos drift in style | Same identity on LinkedIn, resume, Slack, 概念, conference badge |
| Cost of a refresh | Full price, every time | A few credits |
| New industry, new look | New shoot required | New template, same model |
| アスペクト比制御 | Whatever you were given | 1:1, 3:4, 4:3, 16:9, 9:16 on demand |
That last row matters more than it sounds. LinkedIn crops your profile photo into a circle. Your resume header wants a tight vertical. Your speaker bio wants a wide crop with breathing room on one side. One pack of square photos can’t serve all three. A trained model can.

Before You Upload: The Source Photo Is 80% of the Result
This is where people ruin their own headshots and then blame the tool. The model can restyle your lighting, your shirt, and your background. It cannot invent facial detail your source photo never captured.
どのような作品
A front-facing shot, eyes visible, even daylight, no sunglasses, no hat brim shadowing your forehead, no other faces in the frame, and a resolution high enough that you can zoom to your eyelashes without it turning into mush. A plain wall behind you helps. A neutral expression or a light, closed-mouth smile gives the model the most room to work with.
What quietly wrecks it
| Source Photo Problem | What It Does to Your Headshot |
|---|---|
| Heavy beauty filter already applied | Skin comes out waxy and plastic, dead giveaway |
| Harsh overhead light | Permanent raccoon shadows under the eyes |
| Extreme angle or low camera | Distorted nose and jaw baked into the model |
| Group photo crop | Model picks up ghost artifacts from the cropped-out person |
| Tiny or compressed image | Soft teeth, smeared hairline, blurry glasses frames |
| Mid-laugh open mouth | Teeth render badly across every single output |
Spend four minutes taking a fresh photo near a window. It’s the single highest-return step in this entire tutorial.
The Full Walkthrough: Selfie to Profile Photo
Step — Sign in and grab your daily credits
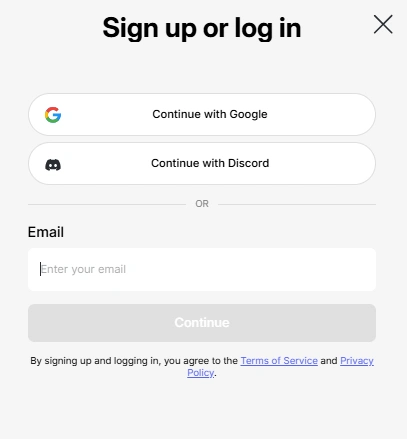
Free membership drops 80 credits into your account every day and they refresh on their own. You don’t need to buy anything to test the whole pipeline. Note the two free-tier limits upfront though: outputs carry a watermark, and you get a single model slot. More on working around that shortly.
Step — Hit “Create Portrait Model”
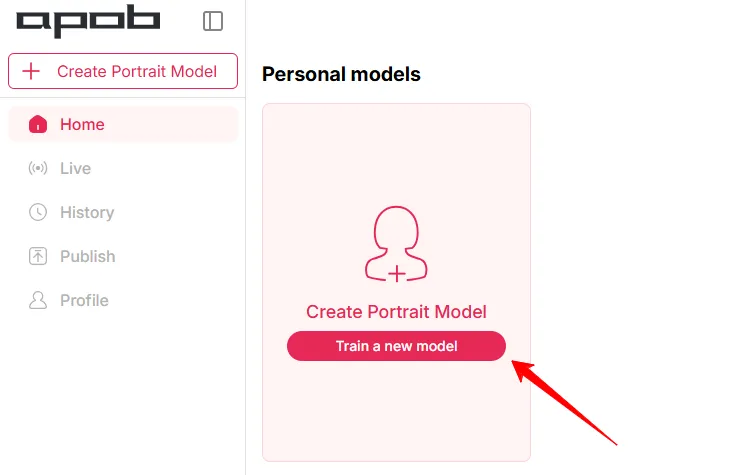
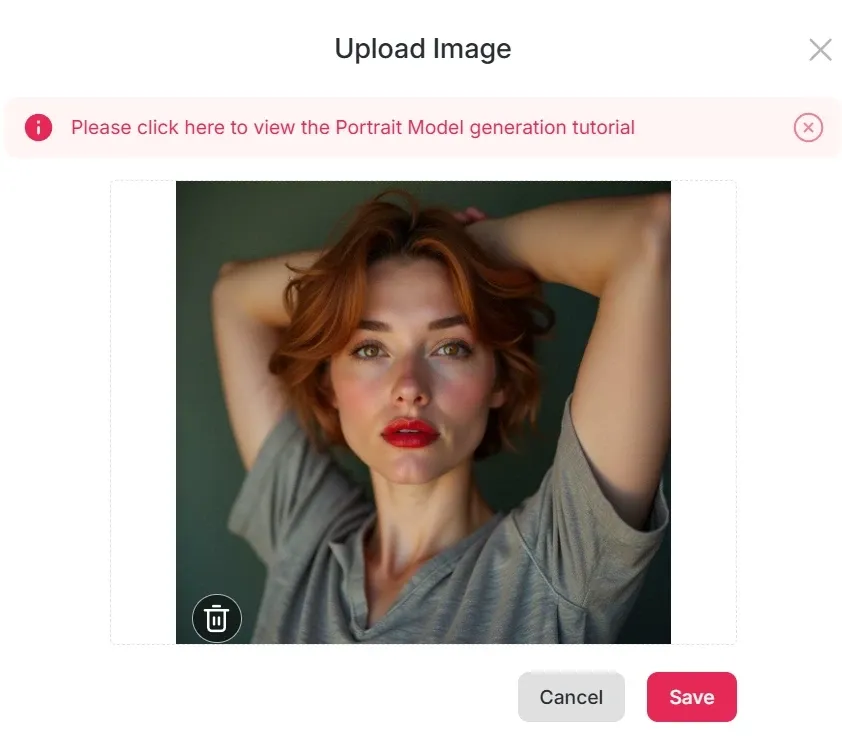
This is the button that matters. You’re not editing a photo here, you’re building the reusable face. Upload your source image and let it process. Everything downstream draws from this one model, so if the preview looks even slightly off, redo it now rather than burning credits on fifty mediocre generations.
Step — Open Complete Set and pick LinkedIn Headshots
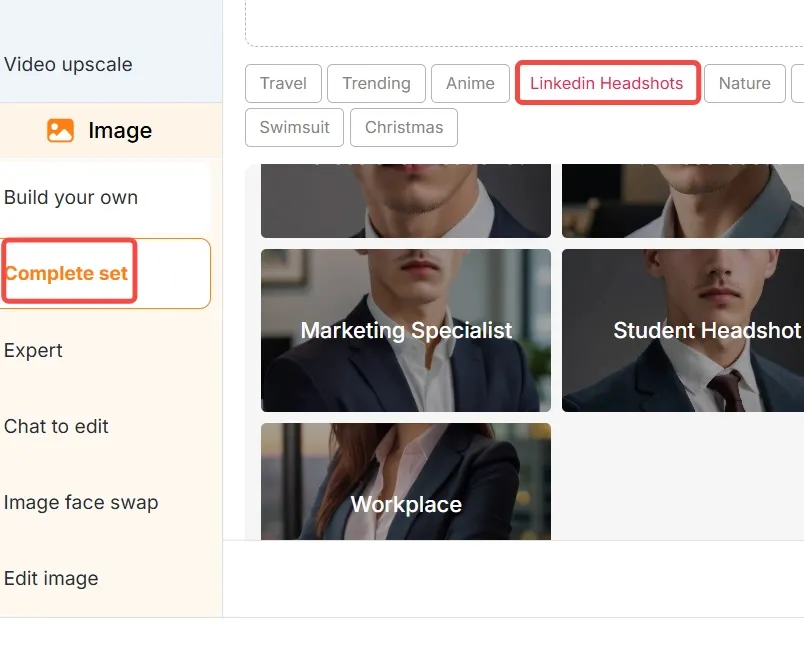
左側のパネルで、次の場所に移動します 完全なセット をクリックして LinkedInのヘッドショット. There are 11 professional templates in that category, most built around formal and business-casual attire with studio-style lighting. The first one, labelled プロの顔写真, is the safest default and the right place to start.
Don’t stop at template one, though. Generate your favourite three in Fast mode and compare them side by side before committing real credits to a final render.
Step — Set your aspect ratio to 1:1

For a LinkedIn profile picture, choose 1:1. The platform displays your photo as a circle, so square input keeps your head centred and stops the crop from slicing off your chin or the top of your head. Save the 3:4 vertical for your resume header and the 16:9 for banners and speaker slides.
Step — Choose a generation mode on purpose, not by accident
This is where credits leak. Four modes, four very different jobs:
| モード | 概算クレジット | 出力 | 用途 |
|---|---|---|---|
| 対応時間 | 〜10 | 4画像 | Scanning templates, testing outfits, volume |
| おすすめ! | 〜20 | 4画像 | Your shortlist round |
| 超 | 〜24 | 1画像 | Detail check on a near-final pick |
| ウルトラ4K | 〜46 | 1画像 | The one you’re actually uploading |
The workflow that wastes the least: explore in Fast, narrow in Best, finish in Ultra 4K. Running Ultra 4K on your first attempt is how people spend an entire day’s credits on four images they don’t even like.
Credit costs per mode shift with platform updates, so glance at the in-app figure before committing to a big batch.
Step — Fix one thing at a time with Chat to Edit
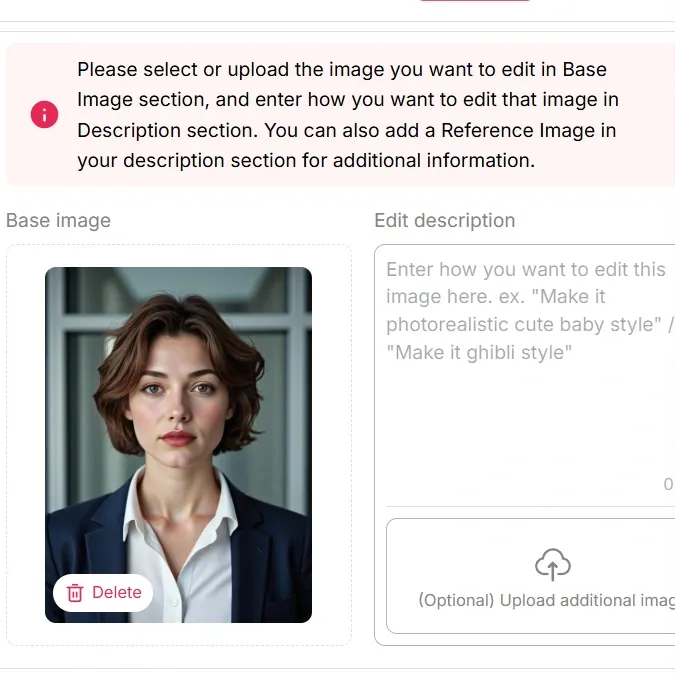
Chat to Edit takes plain instructions. The trick is surgical requests, not vague ones. “Make it more professional” gets you noise. “Change the shirt to light blue, keep the suit charcoal” gets you exactly that.
Change one variable, compare, then change the next. Stacked edits in a single prompt are where identity starts to drift.
Step — Zoom to 100% before you download
Check the hairline, the teeth, the glasses arms, the collar on both sides, earrings, and the point where hair meets background. Those six spots are where AI headshots fall apart, and they’re all fixable with one more edit pass. Downloading at a glance is how a slightly uncanny photo ends up on a profile 200 recruiters will see.
The Credit Math: How 50 Photos Actually Breaks Down
Fifty isn’t a marketing number. Here’s the arithmetic on free credits.
| 日 | What You Run | 使用したクレジット | 画像 |
|---|---|---|---|
| 1日 | 8 × Fast (template and outfit exploration) | 80 | 32 |
| 2日 | 3 × Best (shortlist refinement) + 1 Ultra | 〜84 | 13 |
| 3日 | 1 × Best + 1 × Ultra 4K | 〜66 | 5 |
| トータル | - | 〜230 | 50 |
Three sittings, zero dollars, fifty images with one genuinely polished hero shot at the end of it.
On a paid tier the math stops mattering. Micro’s 5,000 monthly credits covers roughly 2,000 Fast images, and that’s before the UltraS bonus pool lands on top. You’d run out of ideas long before you ran out of credits.
LinkedIn’s Own Photo Rules Nobody Reads
Your headshot can be beautiful and still look bad on the platform. These are the specs:
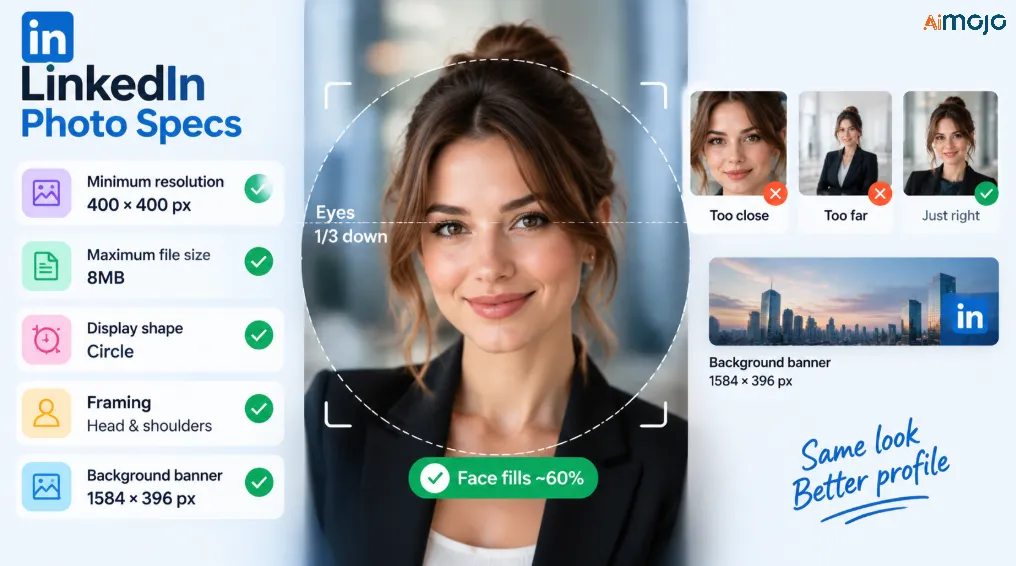
Faces should fill about 60% of the frame. Too tight reads aggressive. Too wide and you’re a passport photo in a wind tunnel.
Chat to Edit Prompts Worth Copying
These are written the way the feature responds best — specific, single-variable, plain language.
服装
Change the blazer to charcoal grey, shirt to white, no tie.Swap to a light blue open-collar shirt, no jacket.Add a soft knit sweater in navy over a collared shirt.経歴
Make the background a plain off-white studio backdrop.Change to a softly blurred modern office, low depth of field.Solid deep green background, even lighting, no vignette.照明
Soft window light from the left, reduce shadow under the chin.Flatten the lighting slightly, less contrast on the cheekbones.Expression and framing
Add a subtle closed-mouth smile, relaxed eyes.Crop tighter, chest up, centre the face.Direct eye contact with the camera, confident but not stiff.掃除
Fix the left collar so both sides match.Keep natural skin texture, do not smooth the skin.That last one is the most underused prompt in the whole tool. Over-smoothed skin is the number one reason a headshot reads as synthetic.
Pick Your Look by Industry, Not by What Looks Coolest
The template that gets you hired in private equity will actively hurt you at a design studio.
| フィールド | 服装 | 経歴 | Notes |
|---|---|---|---|
| Banking, law, consulting | Dark suit, white or pale blue shirt, tie optional | Plain neutral or deep grey | Keep it conservative and sharp. No heavy blur |
| テクノロジーとエンジニアリング | Open collar, knit, or unstructured blazer | Soft neutral or lightly blurred office | Over-formal reads as out of touch here |
| Healthcare and clinical | Clean collared shirt, scrubs, or light coat | Plain white or very soft clinical tone | Warm, trustworthy expression matters more than the outfit |
| Creative and marketing | Texture, colour, personality | Coloured backdrop or environmental | The one field where a little style earns you points |
| 学術と研究 | Blazer over collared shirt, understated | Neutral or bookshelf-suggestive | Avoid glossy corporate lighting |
| Sales and recruiting | Business casual, strong smile | Bright, clean, high-key | Approachability outperforms authority |
| Trades and field roles | Branded polo or work shirt | Simple neutral | Competence beats polish. Skip the suit entirely |
Seven Tells That Scream “This Is AI” — And How to Kill Them
- Porcelain skin. No pores, no texture, no lines. Prompt the texture back in explicitly.
- Impossibly perfect teeth. Uniform, glowing, slightly too many. Switch to a closed-mouth smile and the problem vanishes.
- Background blur that makes no physical sense. A conference room shouldn’t have portrait-lens bokeh at f/1.2. Ask for a plainer backdrop.
- Mismatched collar or lapel. One side sits higher, one button is missing. Easiest fix on the list, and almost nobody checks for it.
- Asymmetric earrings or a single missing one. Zoom in on both ears every time.
- Glasses arms that evaporate near the temple. Regenerate rather than patch this one — the model usually gets it right on the next pass.
- Hair halo. A faint glowing outline where hair meets background. Change the background to something plainer and it resolves.
Handle all seven and your photo passes as a real studio shot. Miss three and it lands in uncanny valley, which is worse than the wedding-photo crop you started with.
One Trained Model, Nine Places to Use It
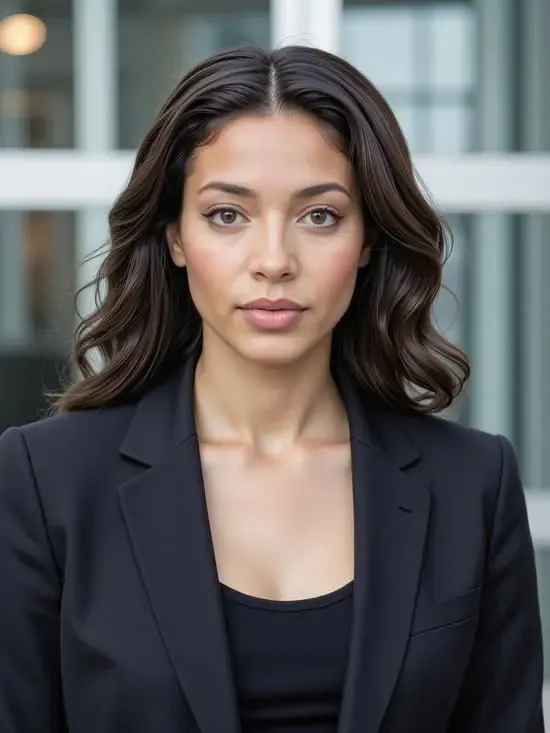
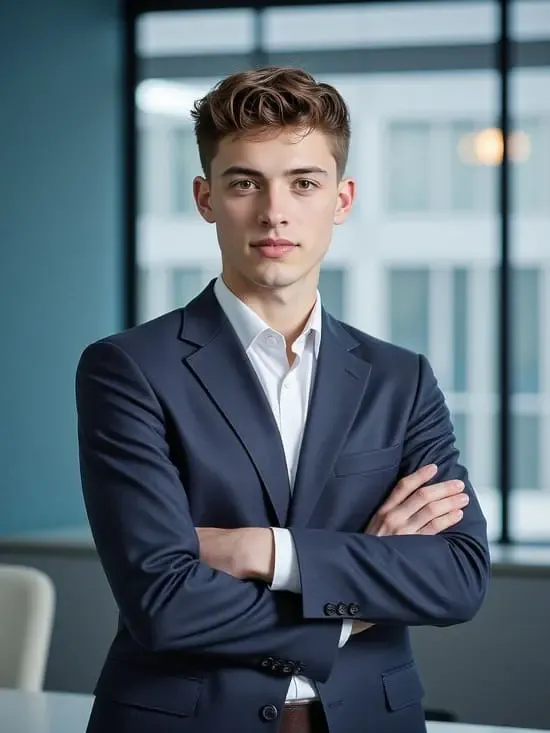
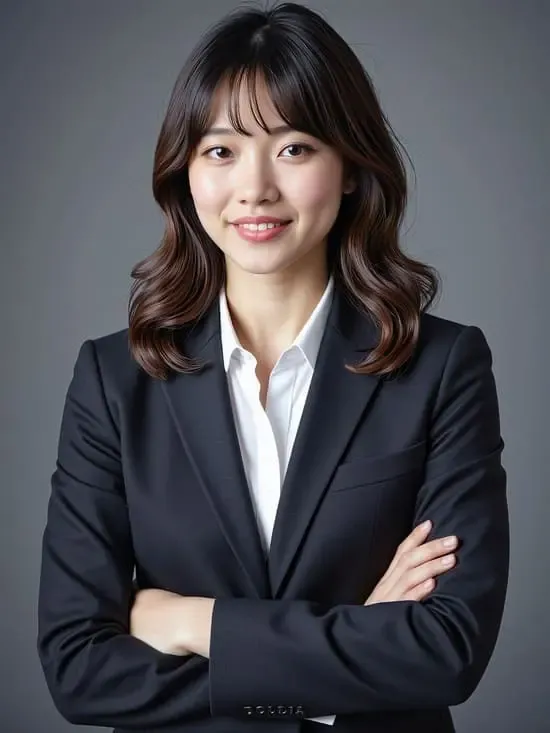
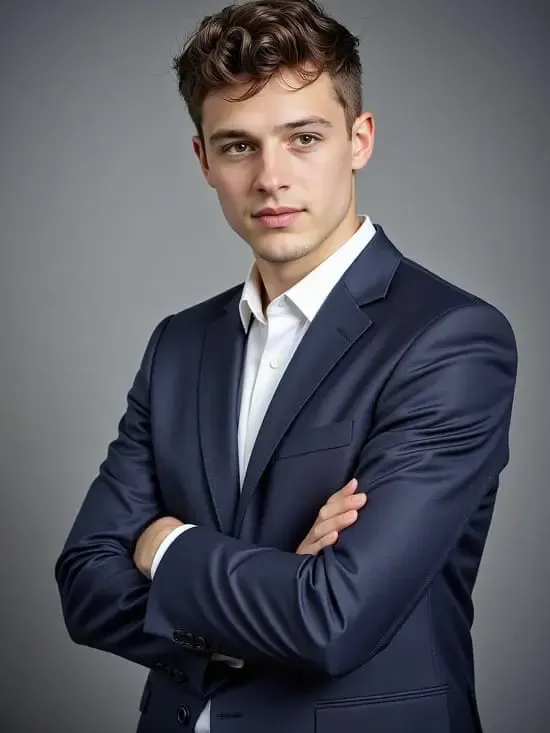
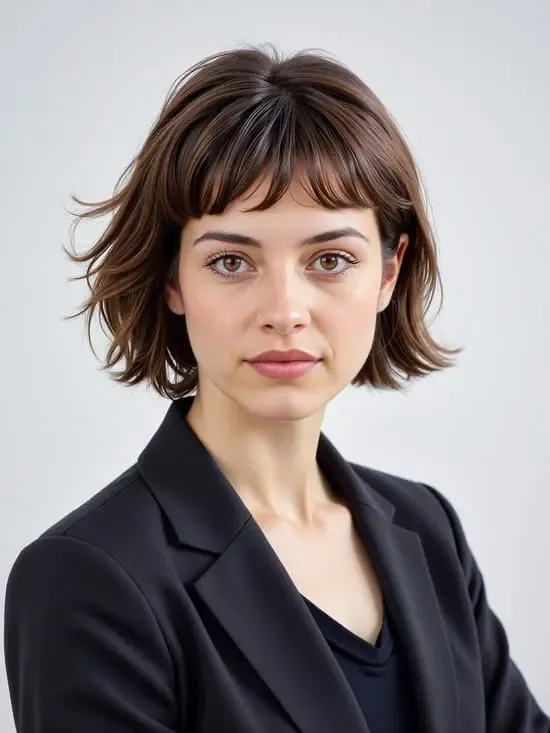
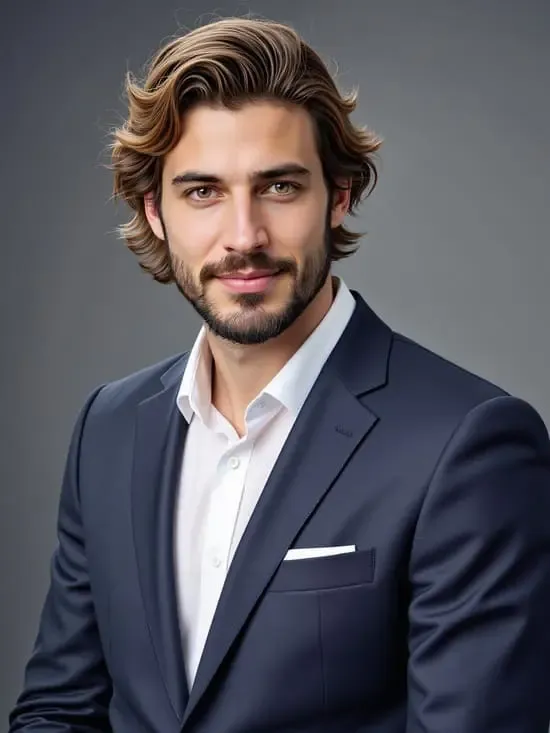
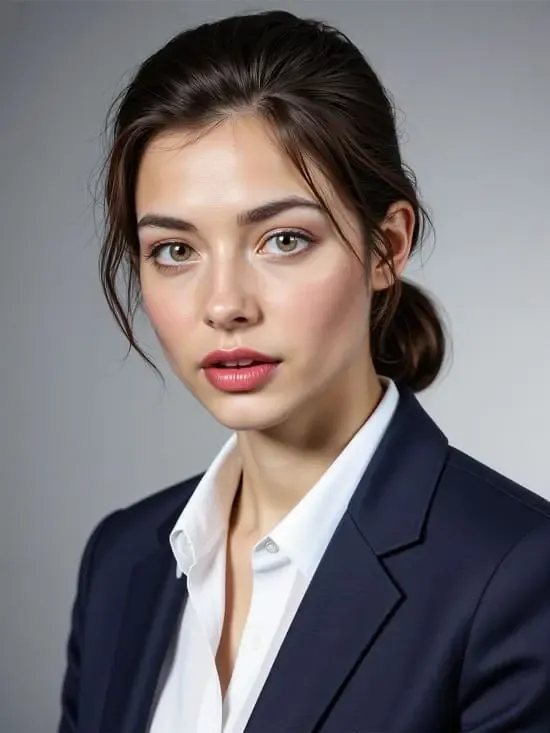
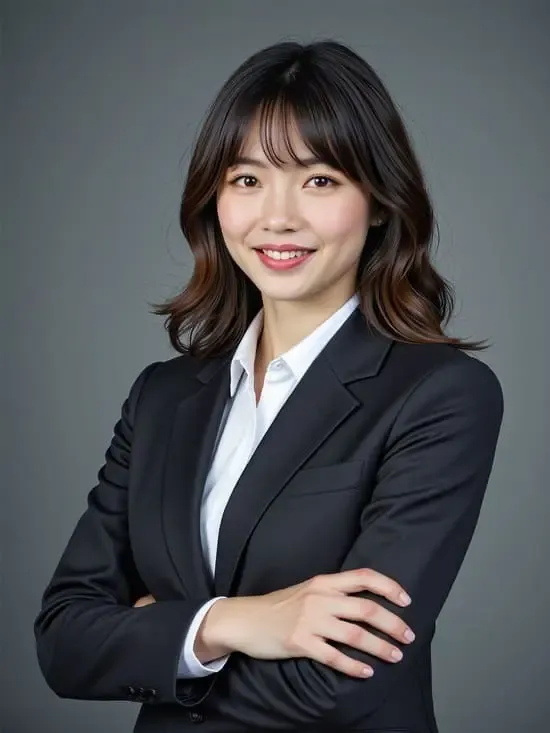
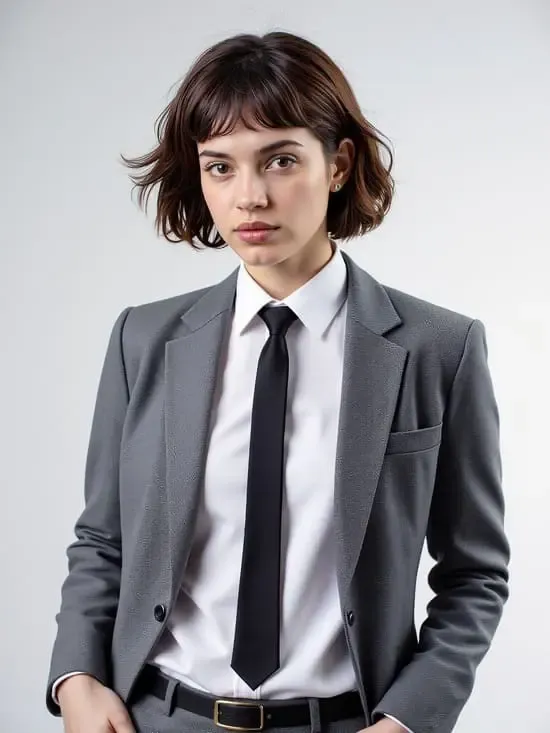
The reason this beats a headshot pack is reuse. From the same portrait model you can produce your LinkedIn profile picture, the matching 1584 × 396 background banner, a resume header, your email signature portrait, Slack and Teams avatars, an About page photo for a personal site, a conference speaker bio image, a podcast guest headshot, and a consistent avatar across X, Instagram, and GitHub.
That’s a complete personal branding kit built from one selfie and a few hundred credits. Recruiters who check three of your profiles see the same face every time, which quietly signals someone who has their act together.
Free vs. Paid: What a Job Seeker Actually Needs
The Line Worth Not Crossing
An enhanced photo of your actual face is normal. Better lighting, a cleaner background, a shirt that isn’t wrinkled — that’s what a photographer would have done anyway, and nobody’s being misled.
Changing your apparent age, body, or ethnicity is a different thing entirely, and it fails in the most awkward possible place: the first video call, twenty seconds in, while a hiring manager quietly recalibrates. If the person on that call has to double-check they clicked the right link, the photo cost you more than it gained.
Keep it recognisably you. That’s the whole standard.
Credit-Wasting Mistakes to Skip
Every one of those is avoidable in about thirty seconds of attention.
評決
APOB isn’t the right answer for everyone. If you’re interviewing at VP level or above, or you work in a field where your own image is the product — photography, acting, personal-brand coaching — hire a human with a real camera. That photo is a business expense, not a shortcut.
For everyone else, and especially for anyone mid-job-hunt who needs a decent profile picture by Thursday, this is a twenty-minute job with a reusable asset at the end of it. The portrait model is what separates it from the pack-of-40 services. Train it once, generate against it for a year.
Start on the free 80 credits, run a handful of Fast batches across three templates, and see if your face holds up under a 100% zoom. If it does, you already have your answer.
FAQs About APOB AI LinkedInのヘッドショット
Is an APOB AI LinkedIn headshot allowed on the platform?
Yes. LinkedIn requires that your profile photo be a likeness of you — no logos, no cartoons, no other people. An AI-generated portrait built from your own face and kept recognisable satisfies that. What breaks the rules is using someone else’s image or a photo that isn’t identifiably you.
Can I really make a professional headshot for free?
You can generate one for free using the 80 credits that refresh daily. The limitation is the watermark on free-tier outputs, which makes those images fine for testing but not for publishing. Removing it needs the Micro plan or above, which starts at $7.50 per month on annual billing.
How many usable headshots come out of 80 credits?
Around 32 images per day in Fast mode, or roughly 16 in Best mode. Realistically you’ll keep three to five of them. Fifty total images across two or three days of free credits is a reasonable expectation.
What’s the best source photo for training a portrait model?
A sharp, front-facing photo taken in soft daylight, with your whole face visible, no filter, no sunglasses, no hat shadow, and nobody else in the frame. Neutral expression or a light closed-mouth smile. Higher resolution always wins.
Will people be able to tell it’s AI-generated?
Not if you check the seven tells above before exporting. The failures are predictable — glassy skin, perfect teeth, mismatched collars, hair halos — and each has a one-prompt fix. A careless export is obvious. A checked one generally isn’t.
Can I use the same headshot on my resume and profile?
Yes, and you should. Consistency across your profile picture, resume header, and email signature makes you easier to recognise through a long hiring process. Just regenerate at the right aspect ratio for each placement instead of stretching one square image.
Does it handle glasses, beards, hijabs, and textured hair well?
Generally yes, with one caveat: these are the details worth zooming in on before you download. Glasses arms and hair edges are the two most common artifact zones, and a regeneration usually resolves them faster than an edit prompt does.
How do I change my headshot later without starting over?
You don’t retrain anything. Open your saved portrait model, pick a different template or type the change into Chat to Edit, and generate. A new haircut or a pivot into a different industry costs a few credits, not a new session.
How many portrait models can I train on each plan?
One on the free Nano tier, two on Micro, eight on Macro, and fifty on Mega. For a single professional headshot, one slot is genuinely enough — the higher counts exist for people building multiple distinct characters.
使ってもいいですか AI headshots commercially?
For your own professional profiles, generally yes. Rights and data handling depend on your plan and the current terms of service, so check those before using generated images in paid advertising or client-facing brand material.
最後のワード
The reason most job seekers have a bad profile photo isn’t vanity or laziness. It’s friction — booking a photographer is an errand, and errands lose to everything else on the list.
An APOB AI LinkedIn headshot removes the errand. Train the portrait model once from a decent selfie, explore templates in Fast mode, finish your pick in Ultra 4K, and export at 1:1 for the circle crop. Then keep the model. It becomes the source for your banner, your resume header, your Slack avatar, and next year’s update when the haircut changes.
Fifty photos is the headline. The reusable face is the actual win. Take the four minutes on your source photo, check the seven tells before you export, and your profile stops costing you those three seconds.
AiMojoのおすすめ:


 ボーナス: 200ドルの「AI 登録すると「マスタリーツールキット」が無料になります!